PowerBI
Integrating Revefi with PowerBI enables seamless tracking of metadata and lineage of Semantic Models, Dashboards, Reports, and Charts.
Enable PowerBI API permissions
- Login to the PowerBI as Admin and from Tenant settings allow following permissions:
- Allow service principles to use PowerBI APIs
- Allow service principals to use read-only PowerBI admin APIs
- Enhance admin APIs responses with detailed metadata
Create Azure AD App
- Set up the Azure AD application service principle by following the steps mentioned here.
Provide necessary API permissions to the Azure AD app
- Go to the
Azure Ad app registrationspage, select your app and add the following dashboard permissions to the app for PowerBI service and grant admin consent for the same:- Dashboard.Read.All
- Dataset.Read.All
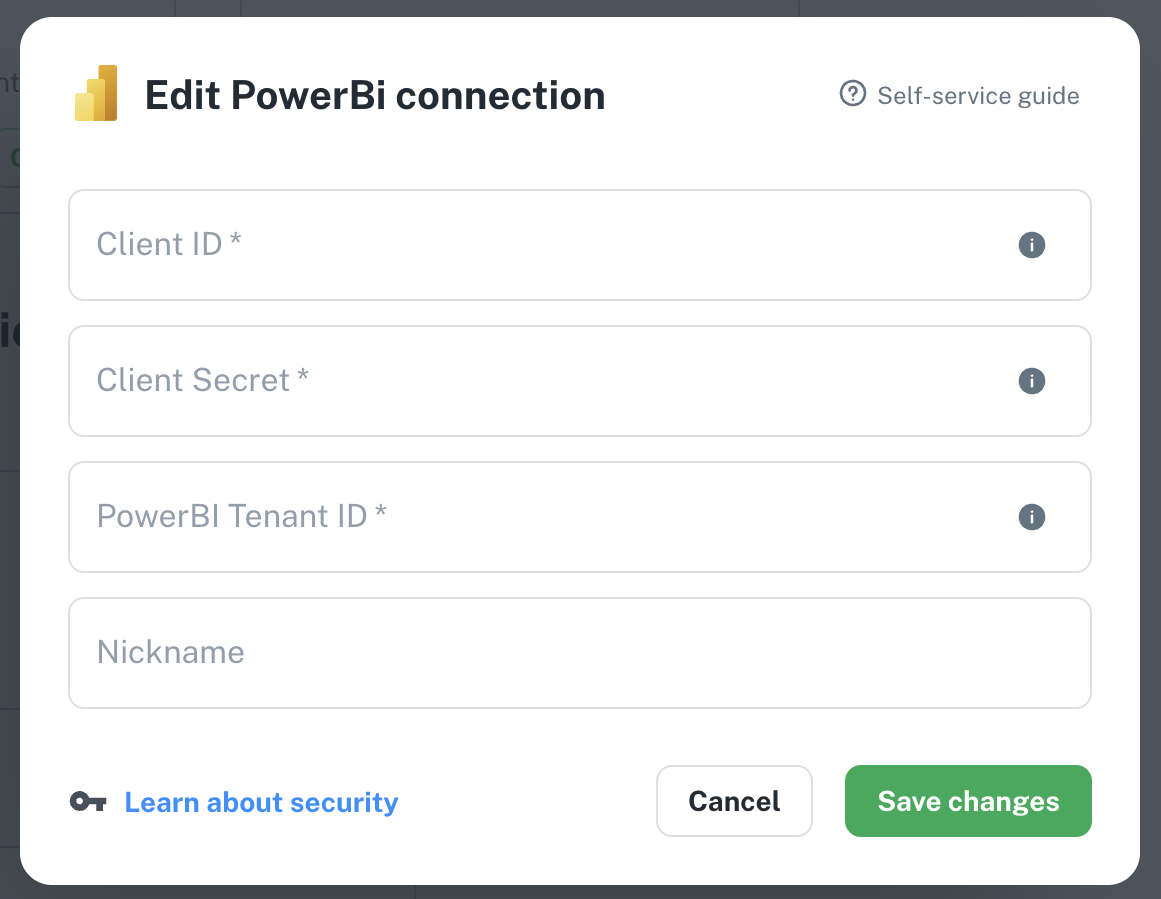
Connect PowerBI to Revefi
Client ID
To get the client ID (also known as application ID), follow these steps:
- Log into Microsoft Azure.
- Search for App registrations and select the App registrations link.
- Select the Azure AD app you created earlier.
- Copy the Application (client) ID, from the Overview section.
Client Secret
To get the client secret, follow these steps:
- Log into Microsoft Azure.
- Search for App registrations and select the App registrations link.
- Select the Azure AD app you created earlier.
- Select Certificates & secrets, under Manage.
- Select New client secret.
- Copy the secret value
PowerBI Tenant ID
To get the tenant ID, follow these steps:
- Log into Microsoft Azure.
- Search for App registrations and select the App registrations link.
- Select the Azure AD app you created earlier.
- Copy the Directory (tenant) ID, from the Overview section.
You'll need to provide these to the PowerBI connection within Revefi along with the URL for your PowerBI instance via the Connections page in app.revefi.com:

Frequently Asked Questions (FAQ)
- I don't see any Power BI artifacts in Revefi.
- How do I verify that Revefi has the correct permissions for Power BI?
Updated 11 days ago
